
Soldering: The Skill That Separates Hobbyists From Professional Jewelers

Two people can use the same torch, the same solder, the same bench, and the same metal, and produce completely different results.
The difference is not equipment. It is judgment.
Anyone can melt solder. Professional jewelers control where the heat goes, how the metal behaves, and what the joint looks like five years later. That gap is not mysterious, and it is not a matter of talent. It is a set of specific decisions repeated under heat.
The good news is simple: those decisions are learnable.
Hobbyists chase the solder. Professionals control the heat.
A weak soldering result usually begins before the flame reaches the metal. The joint may be dirty, poorly fitted, overfilled with solder, or approached in the wrong sequence.
Common habits create predictable problems:
- Heating the seam instead of the surrounding metal
- Chasing solder with the flame
- Using far more solder than the joint requires
- Applying flux without understanding what it is doing
- Soldering components in an inefficient sequence
- Reheating and undoing earlier joints
- Ignoring firestain and pickle discipline
- Working on oxidized or contaminated metal
- Accepting a joint because it looks acceptable today
A joint can look smooth on the bench and still be weak, porous, overheated, or poorly integrated. Appearance is evidence, not proof.
Professional soldering demands a more critical standard. The joint must be clean, properly fitted, fully bonded, visually controlled, and appropriate for the life the piece will endure.
Heat the mass, not the seam
The most important soldering principle is also the one most often ignored: heat the metal, not the solder.
Solder flows toward heat. It does not flow because the flame points at it. When you direct the torch straight at a solder chip, the solder often balls up, oxidizes, or melts before the surrounding metal is ready. The result is a bead sitting on the surface instead of a seam filled by capillary action.
Professionals heat the mass surrounding the joint. They bring the larger section up to temperature, then allow the solder to move toward the hottest area.
This requires three decisions:
- How much metal must reach temperature?
- Where should the flame begin?
- Which area should remain slightly cooler so the solder travels through the joint?
The thicker section usually needs more heat. A larger ring shank, heavy bezel, or substantial casting will pull heat away from a small seam. A tiny flame may create a long, uncontrolled heating cycle, increasing the risk of melting, firestain, or distortion.
The right flame is not the smallest flame. It is the flame that heats the assembly evenly and efficiently.
Solder follows heat, but only through a clean joint
Solder cannot compensate for a poor fit. A large gap forces you to use more solder, creates a visibly heavy seam, and weakens the mechanical connection. A properly fitted joint gives the solder a narrow path to fill.
Before heating:
- Fit the components tightly.
- Remove oils, polishing compound, and oxidation.
- Place a small amount of solder directly in or beside the seam.
- Apply flux where it will protect and guide the operation.
- Confirm that your binding wire, third hand, or fixture will not shift under heat.
Flux helps prevent oxidation and allows solder to move across clean metal. It does not clean a dirty joint for you. If the surface is contaminated, the flux will not turn it into a reliable soldering surface.
When solder balls up, refuses to flow, or sits on top of the metal, stop adding heat. Reassess the joint. Clean it, pickle it when appropriate, re-flux it, and begin again. More flame rarely solves a preparation problem.
Sequence protects the work you already completed
Complex assemblies expose the difference between improvisation and professional planning.
Soldering is not simply a series of isolated joints. Every operation changes the piece. Earlier solder seams become vulnerable when later joints require heat. Components can loosen, stones can be damaged, and carefully aligned parts can shift.
Professionals plan the heat sequence before lighting the torch.
The usual strategy is to complete the highest-temperature operations first, then move toward lower-temperature solders as the assembly develops. Hard solder generally comes before medium solder, and medium before easy solder. The exact products and alloys vary, but the principle remains consistent: protect earlier joints by reducing the temperature required for each later operation.
Before beginning a multi-part assembly, identify:
- Which joint requires the highest heat
- Which components must remain aligned
- Which seams need protection
- Where heat sinks or heat-resistant barriers will help
- Whether a stone or finished surface is already at risk
- How the piece will be supported while you work
This preparation prevents the frustrating cycle of repairing one joint while damaging another.

The joints that reveal your real skill
Some soldering tasks are forgiving. Others expose every weakness in heat control.
Ring shanks demand even heating
A ring shank is a continuous mass. If you heat only the seam, the solder may refuse to flow while the joint area overheats. Professionals warm the surrounding shank, bring both sides of the joint to temperature, and allow the solder to pull through the seam.
The fit must be precise. The solder should reinforce the joint, not fill a visible gap.
Prong and setting repairs require controlled heat
Setting repairs demand speed and precision. The objective is to bring the joint to soldering temperature without transferring unnecessary heat to the stone, neighboring prongs, or finished surfaces.
Professionals use an appropriately sized flame, heat sinks when necessary, and a solder grade that suits the repair. They also know when the piece should be disassembled instead of forced through a risky in-place repair.
Jump rings and chain links punish excess solder
Small links require very little solder. Too much creates blobs, closes openings, and leaves a joint that needs excessive cleanup.
The professional approach is minimal: a clean fit, a tiny solder chip, controlled heat, and immediate removal of the flame when the solder flows.
Multi-part assemblies require a map
Bezels, galleries, shoulders, bails, and decorative elements all compete for heat. Without a sequence, the assembly becomes unstable.
Build from the structural core outward. Solder the joints that establish alignment first. Add secondary details only after the foundation is secure.
Previously soldered pieces require restraint
Old solder changes how metal behaves. Existing seams can reopen, contamination can remain trapped, and firestain can complicate finishing.
Clean aggressively, inspect the prior work, and assume that every old joint has a limit. The professional goal is not merely to make the new solder flow. It is to preserve the entire repair.
Firestain is a process problem, not a polishing problem
Firestain forms when copper in sterling silver oxidizes beneath the surface during prolonged or excessive heating. Pickling removes surface oxides, but it does not erase every effect of deep oxidation.
That is why professionals manage firestain before it appears.
Use appropriate flux protection, keep the flame moving, avoid unnecessary time at high temperature, and heat efficiently. A slightly reducing flame can help limit oxidation, but flame chemistry does not replace sound technique.
Pickling is part of the process, not an afterthought. Allow the piece to cool appropriately, use a dedicated pickle setup, rinse it thoroughly, and keep steel contamination away from the solution. Clean metal gives you a more accurate view of the joint and prevents you from polishing over problems you should have corrected.
Build judgment through deliberate practice
Soldering improves through repetition with attention, not repetition alone.
Work on scrap before customer pieces. Create small exercises that isolate one variable at a time:
- Join two pieces of equal thickness.
- Join a thin wire to a heavier sheet.
- Test different solder quantities.
- Heat from different positions and observe the flow.
- Practice stopping the flame immediately after the solder runs.
- Rework imperfect joints and inspect the failure.
Keep a heat journal. Record the metal, solder grade, flux, torch tip, flame setting, heating pattern, and result. Note where the solder flowed, where it stalled, and what changed when you adjusted the setup.
This record turns vague frustration into usable information. You stop saying, “It did not work,” and start identifying the actual variable: insufficient mass heating, poor fit, excess solder, dead flux, excessive dwell time, or an unstable fixture.

Read heat as well. Flux changes state. Metal color shifts. Surfaces brighten, dull, and oxidize. The more carefully you observe, the earlier you recognize the moment before failure.
Volume builds familiarity. Attention builds skill.
Master the heat, then work with confidence
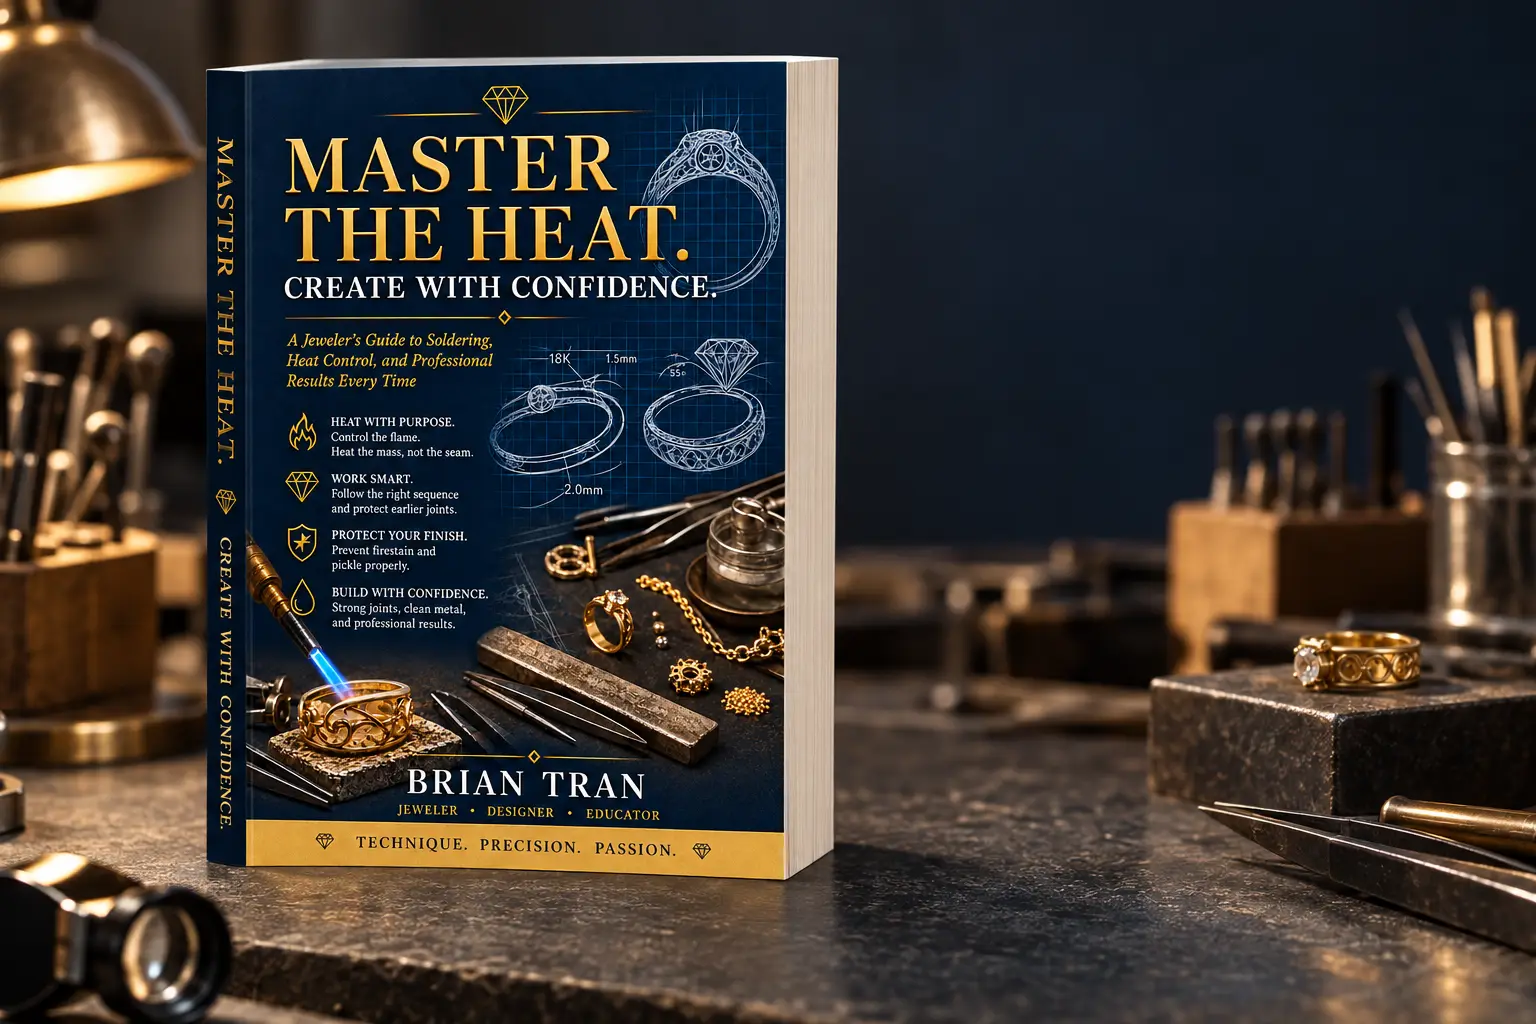
For readers who want a deeper resource, Master the Heat: Create with Confidence by Brian Tran is now at the printing stage. The book frames soldering as a system of decisions rather than a collection of tricks, with a focus on heat control, solder flow, sequencing, firestain prevention, and the habits that produce professional results consistently.
Its central principle is direct: control the flame, heat the mass, protect the work, and inspect the result.
That principle belongs at every bench, whether you are making your first ring or repairing work for clients.

First-print availability is limited. Join the pre-order waiting list now by emailing support@digitaljewelrydesign.com. You can also copy and send your request to support@digitaljewelrydesign.com to be added to the list before the first print run is spoken for.
Digital Jewelry Academy helps makers build stronger jewelry skills from design through physical execution. Explore the Digital Jewelry Academy and its jewelry design learning resources to continue developing the judgment behind the craft.
The difference between a hobbyist and a professional is never the torch.
It is the judgment: where to heat, when to stop, how to protect the joint, and whether the finished work is genuinely ready.